Objective:
- Be the only player to own towns.
Carries Over:
- Emilia (max level 15)
Walkthrough:
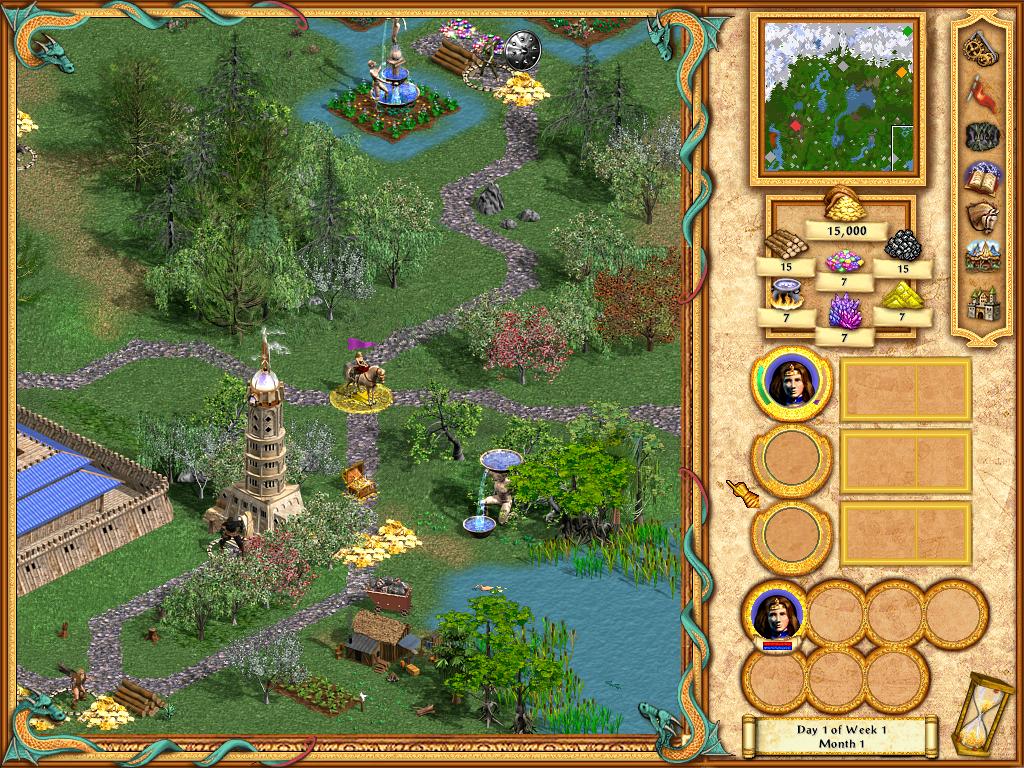
You start out with just Emilia, but very quickly some dwarves and halflings will join you. So head south and claim the treasure chest and resources, and then buy some peasants. With that small army you can defeat the berserkers to the west, grab even more resources, and then capture the nearby town. Try to prevent your peasants from being killed in the battles since they generate gold for you. It’s ok if Emilia gets killed while taking the town since the town will immediately resurrect her. So use her and the dwarves as fodder.
Leave the peasants in the town and head on over to the magic university. But watch out: it’s being guarded by some bandits. So kill the bandits (letting Emilia take the brunt of the damage), and then learn as many skills as possible. You should be able to afford it with the gold you started with. The university seems to have Life and Order skills most of the time, so you’ll probably become a Monk. If you don’t want to become a Monk, it’s ok; you can still switch to a different class later.
Now you need to explore around your town and collect resources, but there’s a problem. The stacks of neutral creatures are pretty powerful, and Emilia herself won’t be powerful until she gets some levels and gains access to higher level spells. So dance around, fighting what you can and avoiding what you can’t. It’s probably a good idea to head west first so you can flag the halfling and golem troop buildings, and also grab the gem mine. Then you can head back to town, recruit a larger army, and go kill things. (Battles will become easier once you get genies.)
Once you clear the immediate area around your town (including the crystal mine to the north), head west back to the gem mine. Nearby should be a stack of Teal medusae. Kill them and then head north to the quest hut. You’ll get eight nagas as a reward. East of the quest hut is a magi tower that you should capture.
From here you have a choice. You can either go north and attack Orange, or you can head west and attack Red. Since there is a stack of venom spawn between you and Orange, and since they’ll hold Orange back for a while, it’s probably best to attack Red. Plus, there’s a neutral Order town near Red’s starting town, making Red an even more attractive target.
So head west, skipping the gold mine and the treasure trove guarded by the thunderbirds for now. At (120,92) you’ll find a quest hut. If you can find Lenny’s ring, he’ll give you eight potions of toughness. Personally, I’d rather have the ring, but go ahead and complete the quest if you want to. The ring is located just to the north, on a stack of -- what else? -- leprechauns.
West of the quest hut you’ll find Red’s town. Possibly Red will have a castle and centaurs and cyclopes, but don’t despair. Song of peace (from the genies) and poison (from the magi), plus some not very good enemy AI, can get you through the battle. If Red has cyclopes and centaurs, go with two stacks of genies so they can both cast song of peace; otherwise just leave the genies in one stack. Then you can neutralize Red’s ranged troops while simultaneously poisoning them and casting mage fist or ice bolt on them (whichever Emilia has). Red’s troops might just stand around and die, but if they exit the castle, pick them off with your ranged troops.
Once Red has been eliminated, head to the southwestern corner of the map. You’ll find a neutral Order town there. However, blocking the path is a large stack of genies. If you can’t defeat the genies without losing lots of troops, then hang around Red’s former town for a couple days, exploring and flagging resource buildings. Meanwhile, caravan in some more troops from your starting town, and then try again.
Once you capture the Order town, head north. You’ll find a long ridge of mountains blocking off the top part of the map, but just before the mountains you’ll find a (possibly) neutral Might town. Take the town and then visit the teal keymaster tent nearby at (44,60). Then head east.
Along the eastern edge of the map you’ll find Orange’s starting town. It’ll probably be well defended, so you might want to clear the path to your starting town, and then bring in some extra troops, before attacking. Regardless, use song of peace and poison to your advantage and capture the town. That should take care of Orange.
Near the town at (17,91) you’ll find a purple keymaster tent. That tent and the teal tent are the only two tents you need to advance on Green’s territory (beyond the mountains to the north). So if you haven’t re-supplied your army yet, do that now and then head west.
The teal keymaster gate leading to Green’s lands is located at (79,32). Past the gate you’ll find a Green town that might or might not be well defended. Regardless, take it while trying to keep your casualties low. Then head east. Green’s second (and last) town is against the eastern edge of the map, but along the way you’ll have to battle some heavy-duty neutral creatures, including large stacks of vampires and devils. The devils in particular might be nasty since they can teleport right to you ranged troops. There doesn’t seem to be a good way to fight the devils (if they don’t go after your magi, they’ll probably kill Emilia in one hit) so just take your losses and move on.
When you get to Green’s town, you don’t have to attack it. Just keep Emilia next to the entrance to prevent Green’s heroes from going anywhere, and then use another hero to capture all of Green’s resource buildings. You’ll then have two Order towns to Green’s single town, plus you’ll have more resources coming in, and so eventually you’ll be able to take Green’s town, regardless of how well it’s defended.
When you’re ready to attack, remember that Emilia doesn’t have to survive the battle since the town will resurrect her if you win. Otherwise, this siege is much like the other sieges you’ve done, except with a lot more troops involved. So use song of peace and poison, and try to kill Green’s ranged troops without allowing them to fire back. Once you win the battle, you’ll also win the scenario.