

Importing and Using Brushes
by Wildbear
Importing brushes
In the main menu, click Tools, then Customize... and finally Obstacle Brushes. Now click Import Brush.

Select the directory where you unzipped the brushes, select a brush and click Open. There is no multiple brush import so you must repeat this step for all brushes.

Click OK to come back to the map. The last imported brush is at the bottom of the list.
Using the Brush tool
Step 1 - Launching the brush tool.
In the map editor's toolbar click on the button with four little trees. A new toolbox will appear (if it doesn't, enable it in the menu: View , then Tool Options).

Toolbox description:
- 1 is the brushes list
2 is the Paint button. It is used to apply the brush. When it is grayed, you have to define an area on the map with the brush tool (4).
3 is the Info box of the brush. If there is no description you will see a blank message box.
4 is the Brush tool. Use it to define or add an area to cover with the brush.
5 is the Eraser tool. It allows you to remove a part of the defined area.
6 is the brush sizes list.
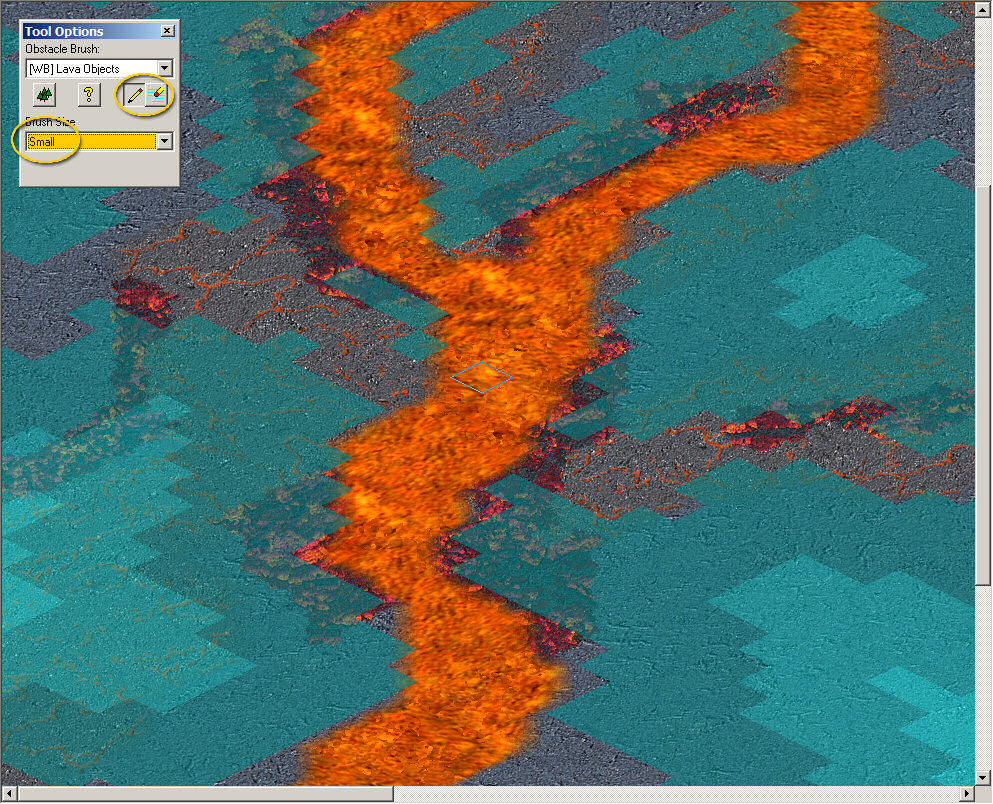
Step 2 - Defining an area
- 2-1 Fill the area you want to cover with the Extra-large brush.

Overlay Colors description:
The overlay is teal, not blue or red. Not even yellow is the overlay color.
On this screenshot it is green because of the blending with the brown terrain below it.
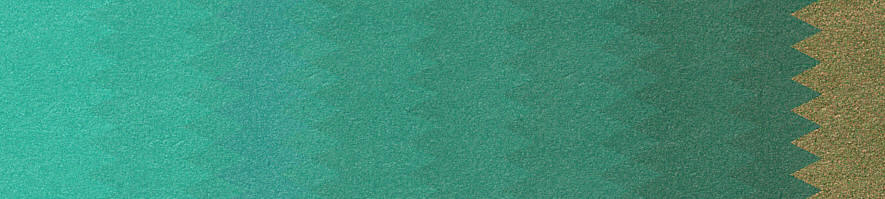
When a brush has more than one layer the covered area has several shades of teal. The darkest one is layer one; the brighter is the last layer available for the area. If there are three different colors, your brush will cover the area with layers 1, 2 and 3 of the brush, so if there are four layers in the brush layer 4 will not be used.
(!) There are 11 shades of teal, but brushes with more than 11 layers are allowed.
- 2-2 Now select the Medium brush size and the Eraser tool and refine the area. Repeat the operation with the small eraser. Refine once again with the small brush to give a random appearance.
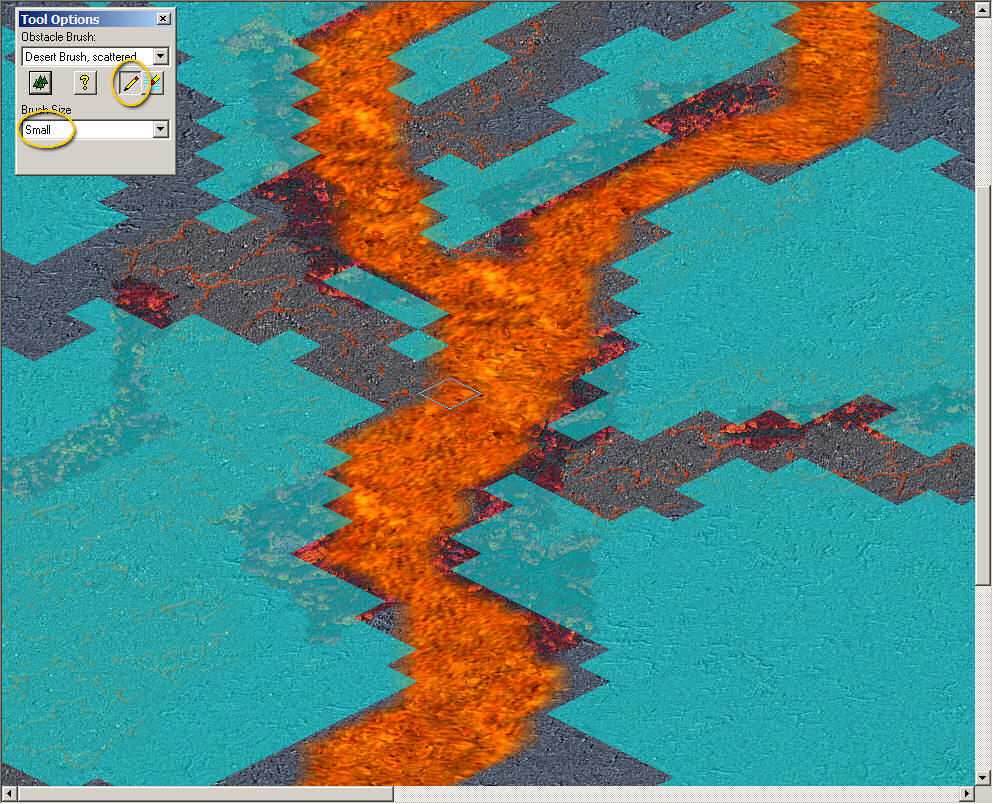
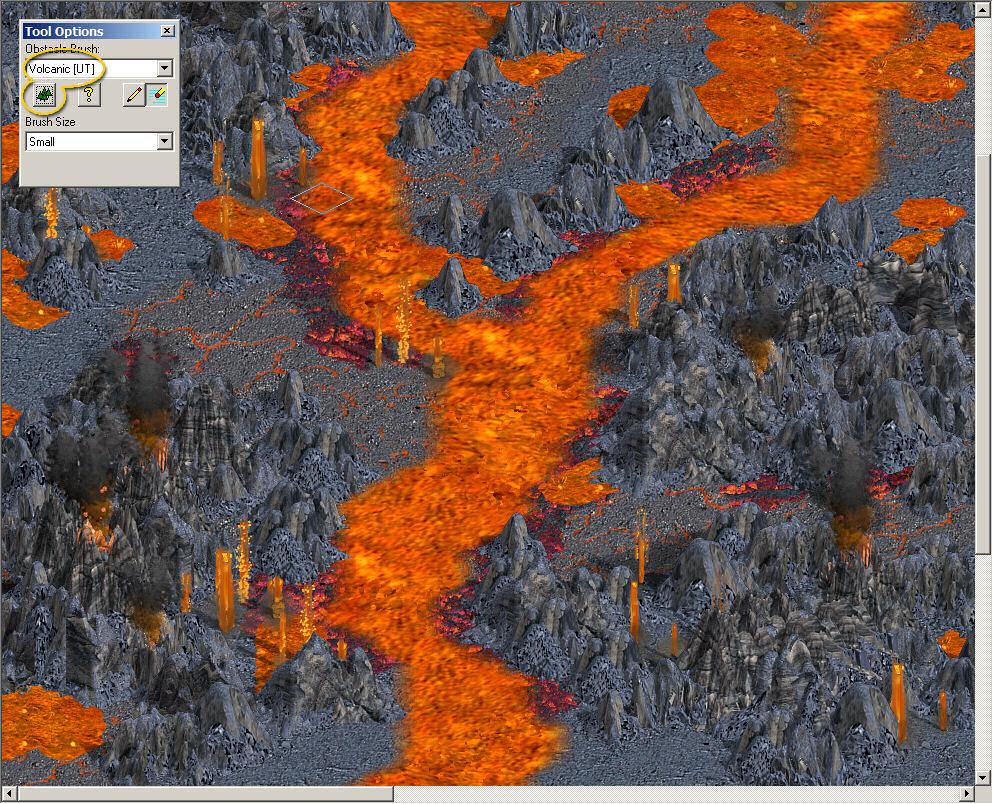
Step 3- Painting
- 3-1 Select the Obstacle Brush you want in the list. If more than one brush is available for the terrain you want to fill you can try all of them. Select the first one and click the Paint button.
- 3-2 If you are not satisfied but want to keep this appearance click again on the Paint button. When the appearance fits your expectations the brush part of the work is done.
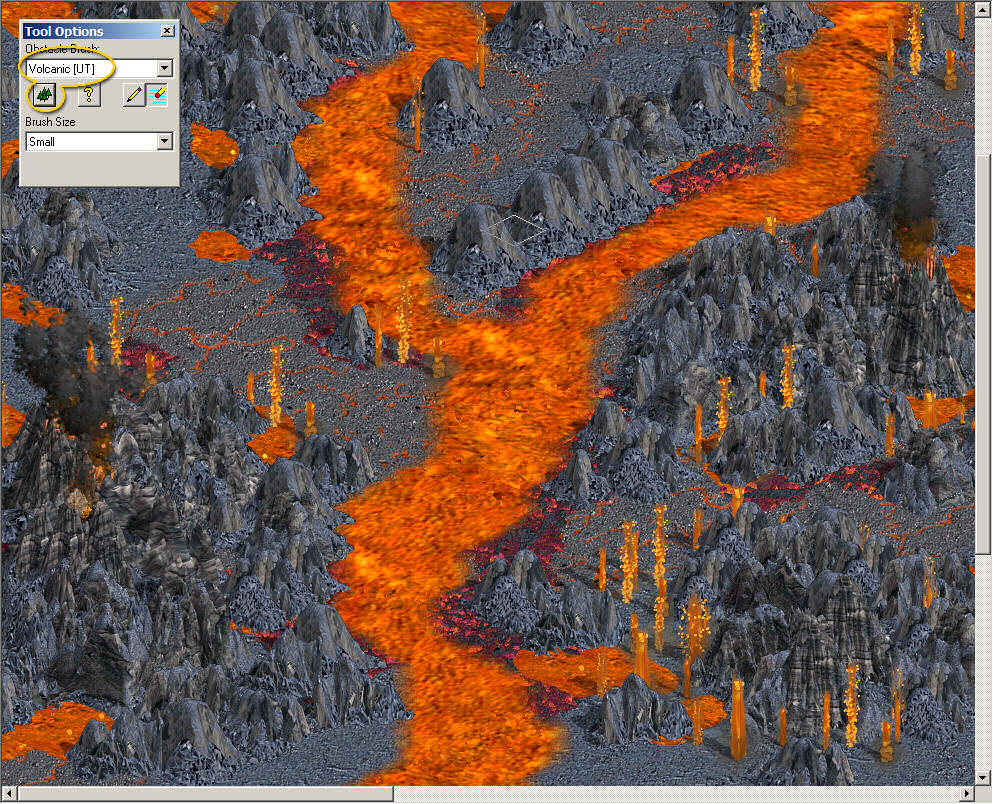
- 3-3 If you want to try something else select another brush in the list. When changing the brush it is better to undo all your painting steps with the Undo button until you see the teal areas again. Different brushes may have a different number of layers, and layers' depth may vary, so you may have to refine the areas again.

- 3-4 When it is done press the Paint button until you obtain the wanted result.
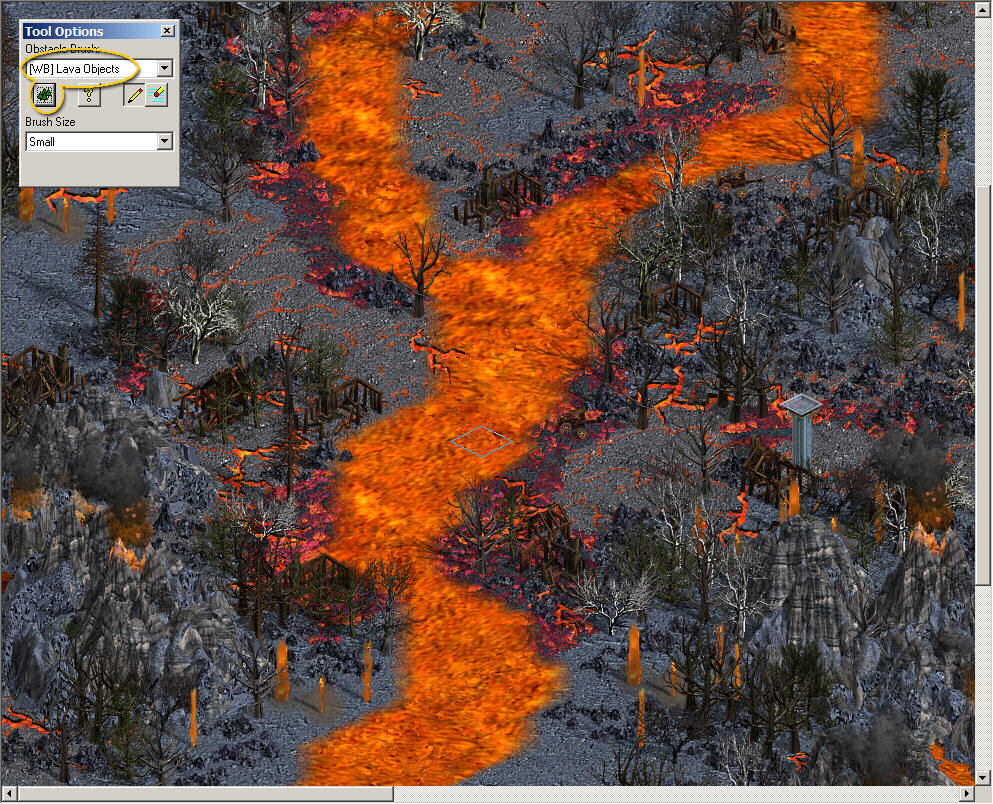
Step 4- Refining details
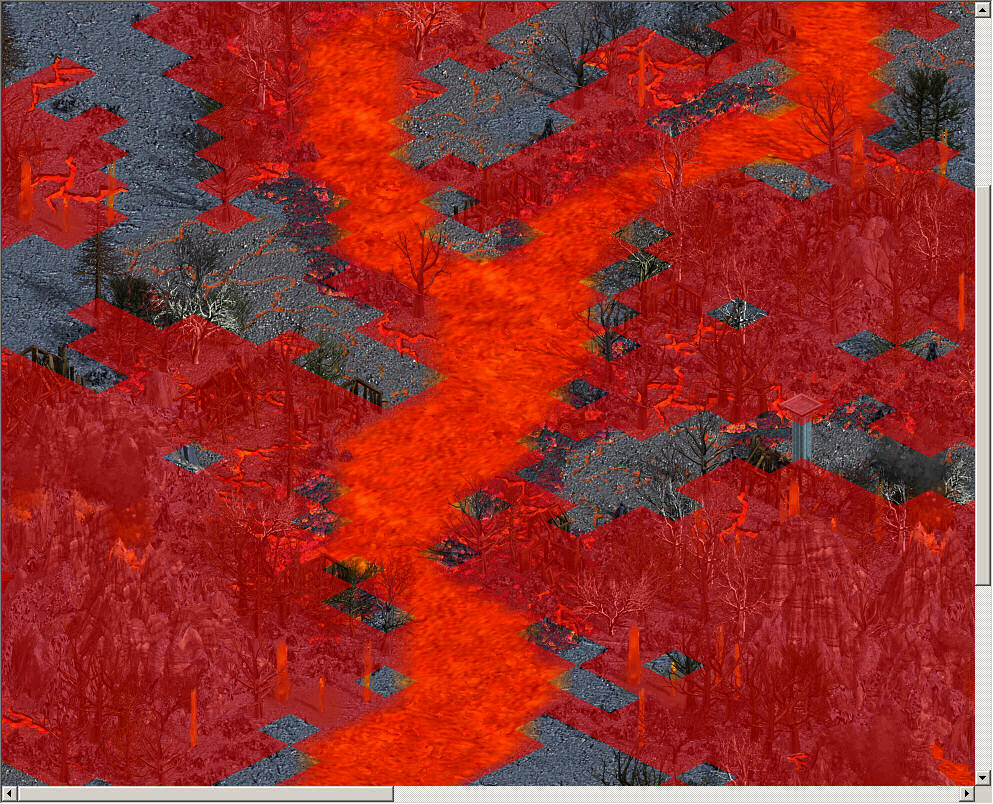
You may now refine details. Just look everywhere quickly and remove or move misplaced objects, toggle passability display on, and check passability.

Done!

Now, you can continue your mapmaking job by adding objects to the scene. Time elapsed: less than 3 minutes.
Part Two: How to Create Brushes
Object Brushes for Download
Read full article...