Mission 2 - The Break
Map Size: Normal
Carry Over: Ylaya
Level Cap: 16
Difficulty Index: 2/5
Primary Objectives:
- Ylaya must survive
- Pass the first frontier garrison in two weeks
- Pass the second frontier garrison in three weeks
- Pass the third frontier garrison in four weeks

The second mission of Ylaya's campaign brings you back to day time, or dusk more precisely. This is also the easiest and shortest mission of the campaign.

The mission can be broken down into three similar parts. In each part, Ylaya has to defeat a destination Garrison (yellow G1-G3) before a deadline. When the deadline comes a powerful enemy hero spawns, and might catches up with Ylaya (and defeat her).
However, since the map is relatively small, and you will hit the level cap at 16 (only 4 more levels than mission 1), there are not a lot of important things to do. You should be able to pass the Garrisons long before the enemy heroes spawn.
Note:Once you pass a garrison, you will not be able to return to the previous section. So before reaching for the garrisons make sure you visited the stat boosts, etc.
As a full-time spell caster, you can pick the Tarot Card artifact as the starting bonus. One extra knowledge point gives you 10 more mana, and 1 (or 2 if you have the Mana Regeneration feat from Sorcery) point of mana regenerated per day. Your starting army size is tiny, but soon you will be able to recruit neutral stacks, and the unit starting bonus will soon become insignificant.

Depending on what you have in the spell book, the difficulty of this mission can range from moderate to extremely easy. By the end of this mission you better have Expert Destructive Magic, Empowered Spell, Warlock's Luck, and Mana Regeration ready for mission 3.
Yalaya starts in the SE corner (1). Follow the road north, and you will see a Hut of Magi on your right (2). Visiting the Hut reveals all three Garrisons that you will have to pass through.
Instead of reaching for the first Garrison (G1) directly, you can turn south and explore a little bit. There are a few low-tier Dungeon creature buildings. Since there is again no town in this mission, you can skip most of the resources on the ground. They don't sell for a lot of gold. Just pick up the gold, if you can do it without losses. There will be high-tier creature buildings in the last section, but you can also do well without hiring from those.
There is a Witch Hut (yellow W) that might teach you something useful. You can also visit a Red Keymaster Tent (Red K) just SE of the first Garrison (G1). The Red Key gives you access to a good, but not very useful artifact in the second area.
At the end of Week 2, you will get a warning message that the enemy hero is going to spawn. In this section the enemy hero spawns in your Day-1 location (1). By the way, the enemy heroes cannot chase you across the Garrisons.
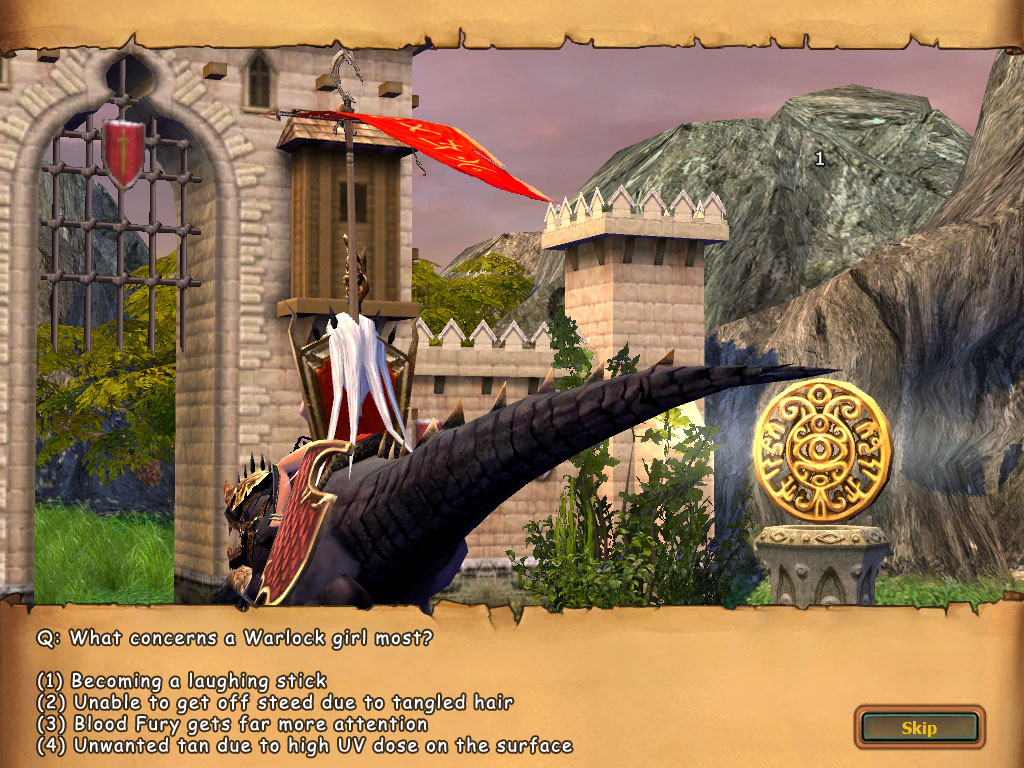
Every Warlock loves to take a sip from the mana spring, but somehow Ylaya is pinned on her steed...
The first Garrison is very easy. Your spells should be more than enough to handle them in a few rounds. Right after passing the garrison, there is a stack of Blood Maiden on your NE (3) that will offer to join. Another friendly stack of Blood Maiden (marked with another 3) is waiting NW from your position, close to an Redwood Observatory pole.

The second area is quite large. There are quite a few creature buildings, and two resource mines that does not mean too much. You can pick up the Axe of Mountain Lord in the middle of the lake, after passing through the Red Gate (red G). There is also a Blue Keymaster Tent (blue K) hiding in the NW corner; the Blue Gate is in the third area, again guarding a nice artifact that has nothing to do with magic. The stack guarding the blue tent is quite powerful, so you may as well skip the Blue key.
At the end of the 3-week deadline (counting starts when you pass G1), another enemy hero will spawn at the NE corner.
The second Garrison (G2) is significantly tougher than the first. Here is what I saw:
- 3 Hydras
- 15 Grim Raider
- 15 Dark Raider
- 20 Minotaurs
- 15 Blood Furies
- 90 Assasins
The third area is the largest and the most rewarding. It is unlikely that you will see the third hero spawn in this area, since there are still not very much to do. The first thing you see from the third section is a cluster of Peasant Huts. The Peasants don't mix well with Dungeon units, but they are tax payers, and can be discarded as cannon fodders. There is also a Trading Post in the area, guarded by a stack of Tier-4 neutrals.

Your first priority should be to pick up a good stack of Minotaur from (4). If you have enough cash, you can flag and hire from the high-tier creature building just SW of it. There is also a very good stack of Shadow Witch waiting to join you at (5). In my game there are 12 of them - the value of this stack is higher than all resources combined on the map!
Keep going south and you can see a Hill Fort at (6). Don't waste your money upgrading the Witches. The basic ones work well, and your moeny can be used on buying new units, such as from the high-tier creature building just west of the Hill Fort (8).
There is a pair of Two-way Portals between spot (7) and (7'). The mission designer probably tried to help you save time, in case you decided to come back here to upgrade more units.

Behind the Blue Gate (blue G) lies the Unicorn Horn Bow. It is not a very useful artifact for a warlock, since most of your damage comes from hero's spell.
Just after visiting the mercenary camp, you can find a little shortcut at (6) that leads you to the third and final Garrison (G3), through (9), If you try to grab the aritfact in the west, you will be ambushed by a small group of Mummy.
The final Garrison (G3) is again quite bigger than the previous. Here is what I saw:
- 4 Shadow Matriarchs
- 12 Deep Hydras
- 20 Dark Ripper
- 85 Minotaur Guards
- 20 Blood Furies
- 125 Assasins

The Dwarven King... will be a pushover. Let's talk more about it in mission 5!