

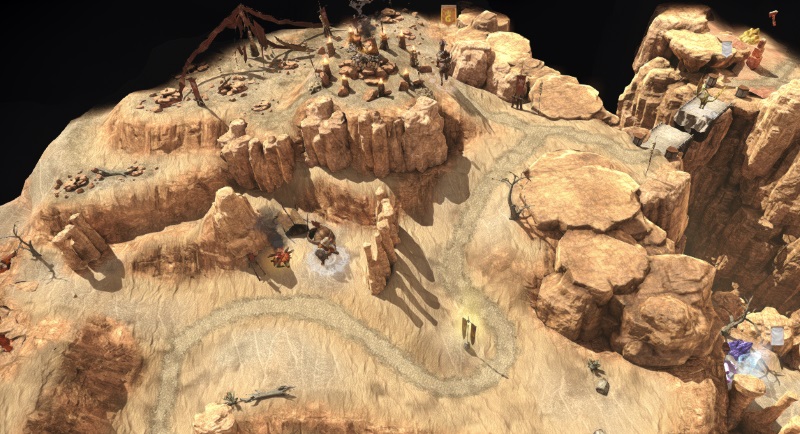
First, move south and talk to the orcs. They will join you after you have performed the funeral rites, so start gathering the resources to do so. Do not spend those resources building the town yet! With the hero Reem, you can walk south and talk to the harpies, but they will also join only after the funeral rites. Keep gathering resources until you have enough, then head back up to the mound and do your thing. Once that's done, speak to the neutrals, who will now join you.
Pick up resources, items and clear the area. Go south and capture the Ore Pit. Then visit the obelisk just south of you. If you visit the Observatory to the east, you can see a Sawmill and a Gold Mine. You can capture the mine, but the Sawmill requires control of a fort just to the east, so you have to take that before you take the Sawmill. After taking (and rebuilding) the fort, take the Sawmill. You may see some red heroes to the east so you can go and fight them too, but there are a couple of them that are quite dangerous, so be careful. Also, they might start rebuilding the bridges, so be ready for it when they come across. (If they try to come across before you're ready, you can destroy the bridge they just rebuilt). Town portal is nice, and also, if you kill the wyverns by the two-way portal, it will open a passage for you so you can use it to get back home quickly.
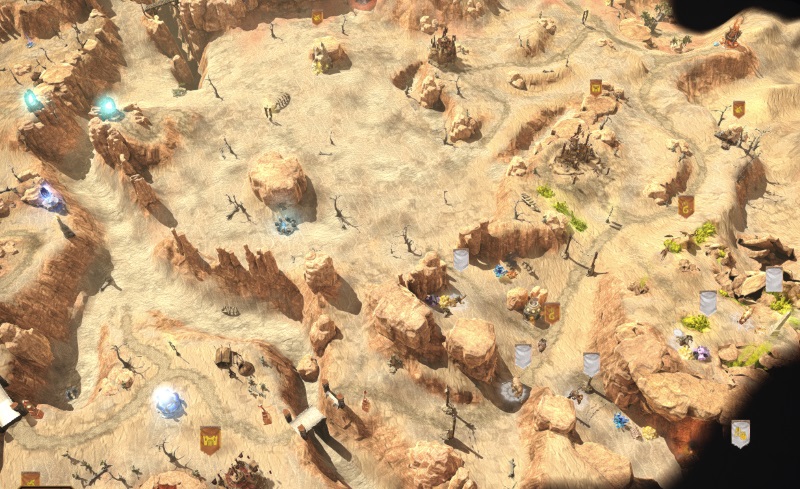
To the north is a small wooden bridge leading to an artefact and a two-way portal, but there is a mound of rocks blocking the path, so move east instead. Try visiting the oasis to get a new quest: finding the real one. Just keep trying to follow those strange-looking oasisesesssss ... (yes, I know it's «oases» but can't a guy have a little fun?) and soon you will come to a real one.
Flag the behemoth dwelling and clear the area. Then take the two-way portal to the south and look where you are! Further east is a fort. Take it and you gain control of an Ore Pit and two Gold Mines. Mmmmm... goooold... Just south of the fort is a town (Kuaminifu, go east and around to the south to access it) you can capture. East of that is a Blood Forge, giving you some shadowsteel. Sweep the area to the south and claim the champion dwelling before you visit the obelisk (second out of three).

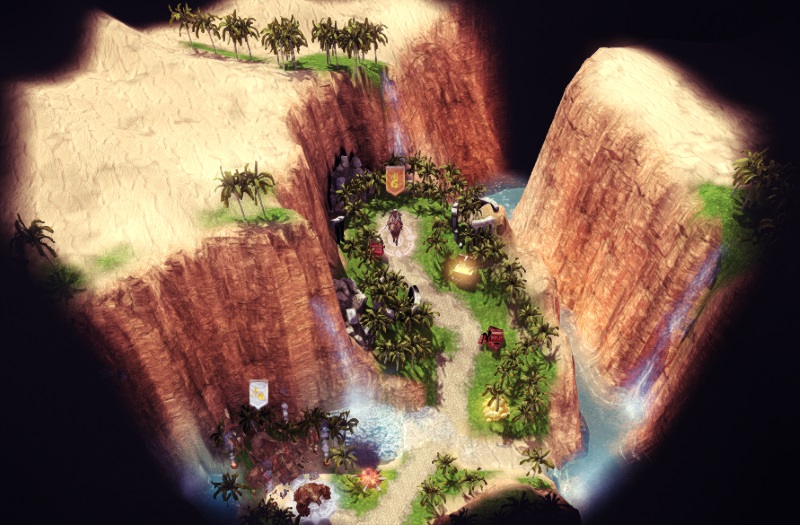
When you have cleared the southern area, look to the passage north – just between the Ore Pit and the Gold Mine. Just east of the Gold Mine there you can find the third obelisk, and the grail just nearby:

When you're ready for the final showdown, move through the passage and go west from there, and you will find the town Kulazimisha, your main objective. Bring a huge army and attack orc style: chaaaarge! This is what I brought to the table and poor Jengo didn't have a chance:
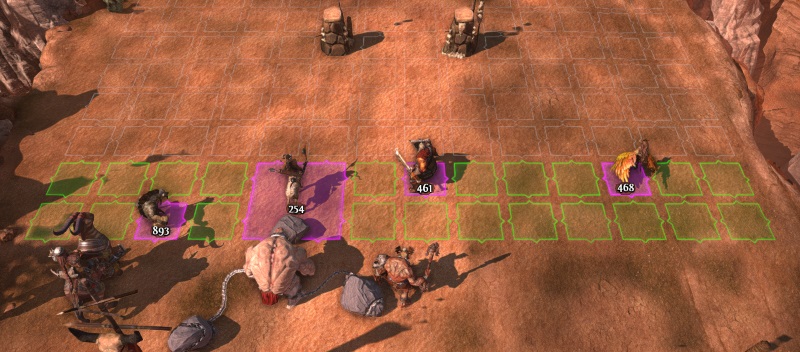
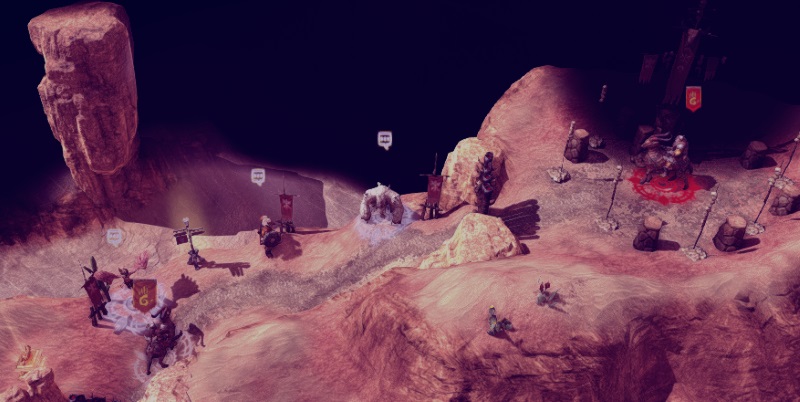
Job done. Or is it? No, now it's time for ritual combat. You find yourself on a hilltop, and you need some creatures, so talk to the ones waiting there to get them to join you. You can choose one of the three stacks. Choose wisely. I picked the ancient behemoths. Then I proceeded to make mincemeat of the enemy. Map completed. Well done.
Read full article...