Object Painter Tutorial Two
Creating Brushes
by Wildbear
Creating Brushes
by Wildbear
In the main editor window select Tools, Customize..., then go to the Obstacle Brushes tab.
Customize panel: Obstacle Brushes description
-
1 resets the brushes list to the default set of obstacle brushes.
2 modifies the selected brush. Double-clicking a brush in the list opens the change brush panel too.
3 adds a blank brush in the list.
4 copies the selected brush. The copy's name is "Copy of (name of the brush)".. If you make more than one copy of the same brush without renaming them their names will be the same.
5 removes the selected brush from the list. There is no undo for this.
6 allows the user to export the selected brush to a file (extension .h4b) to save or share it.
7 allows the user to import a brush from an h4b file.
8 exports the text from all brushes to a single file. Titles are not exported.
9 imports text for all brushes from a single file.
10 is the brushes list
11 saves all changes made to brushes
12 cancels all changes made to brushes. IMPORTANT: If you create a brush and press Cancel the brush will NOT be saved.
- 1.1 Press the Add Brush button
-
1 is the name of the brush. You must give a name to your brush.
2 is the description of the brush displayed when you press the ? button in the Obstacle Brush toolbox. This description is optional.
3 is the number of the current layer.
4 allows you to add a layer to your brush.
5 allows you to delete the current layer. This option is available when the brush contains more than one layer.
6 allows you to move the layer in the layers hierarchy: Press this button and enter the new rank of the layer.
7 is the fill factor of the current layer in percent. The minimum is 0 and the maximum is 100.
8 is the depth of the layer when the brush contains more than one layer. Value is expressed in squares.
9 allows the user to let the layer's objects extend outside of the brush or inside inner layers when objects are larger than the layer's depth.
10 is the content of the current layer.
11 are the object panels of the editor (if you modified them your modifications will appear here).
12 validates all changes made to the brush.
13 cancels all changes made to the brush.

- 1-2 Give your brush a name.
- 2-1 Select the trees palette.
- 2-2 Drag and drop the objects you want on this layer from the objects palette to the layer's palette. We will select all spring trees.

- 2-3 Select the rocks palette. Drag and drop black rocks in the layer's palette
- 2-4 Repeat these operations to add all flowers to the layer's palette.
- 3-1 Right click an object in the layer's palette and choose Weight in the menu.

- 3-2 Change the weight of the object: Objects with higher weight will appear more often than objects with a lower weight. Give all trees a weight of 250, and all rocks a weight of 40.

- 3-3 Change the Fill factor to 75.
- 4-1 Press the Add Layer button. You're now in layer 2.
- 4-2 Add all spring trees to layer's 2 palette (steps 2-1 and 2-2).
- 4-3 Drag and drop the songbirds from the Animals and Bones palette.
- 4-4 Modify all birds weight to 10 so they won't appear everywhere.
- 4-5 Drag and drop the smallest black mountains from the Mountains palette. Change their weight to 33.
- 5-1 Press Add Layer again. You're now on layer 3.
- 5-2 Drag and drop all black mountains in the layer's palette.

- 6-1 Press Add Layer again. You're now on layer 4.
- 6-2 Drag and drop all geysers and lava pools frome the Miscellanous palette, and the volcanos from the Mountains palette.

- 7-1 Select layer 1.
- 7-2 Modify depth of layer to 3.
- 7-3 Check the Allow Objects to Extend box and modify the value to 2 squares.
- 7-4 Select layer 2, modify depth of layer to 2, check the Allow Objects to Extend box, and set the value to 1 square.
- 7-5 Select layer 3, modify depth of layer to 2, check the Allow Objects to Extend box, and modify the value to 2 squares.

- 9-1 In the main menu go to Tools; Customize..., Obstacle Brushes.
- 9-2 If there is no description for your brush you can add it now. Press OK when it is done.
- 9-3 Press Export Brush, choose your destination directory and press Save.
- 10-1 Copy the brush: Open the menu Tools; Customize..., Obstacle Brushes. Select your brush and press Copy Brush. Double-click the copy or press Change Brush.
- 10-2 Rename the brush and modify its description.
- 10-3 Select layer 4 in the list and press Delete Layer. We don't need this one.
- 10-4 Now we want the inner layer to be the outer layer. Layer 3 is selected so press Move Layer and enter 1 as the new value.
- 10-5 Select layer 2, press Move Layer and enter 3 as the new value.
- 10-6 Press OK in all windows and come back to the map to test your brush.

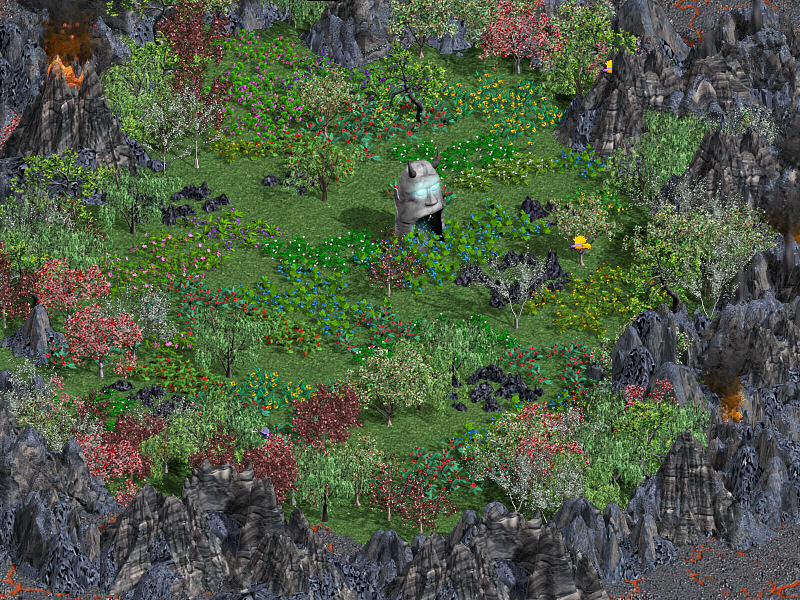
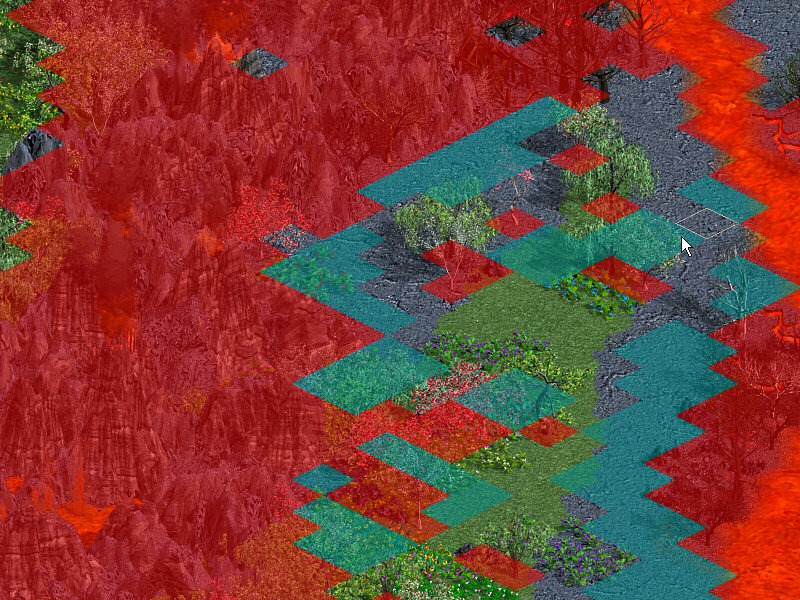
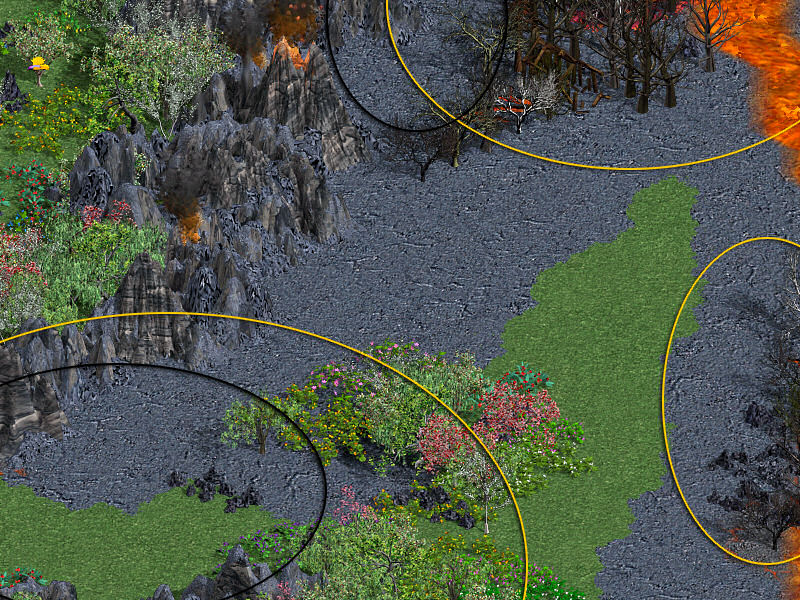
- 11-1 Apply your brushes on the map. Leave some space between the areas (orange on the screenshot). Use the Eraser tool to remove trees where there should be mountains (black on the screenshot).
- 11-2 Copy the first brush (black mountains and spring forest in this example) and edit the copy.
- 11-3 Delete layer 1 and layer 2. Press OK and come back to the map.
- 11-4 Paint the empty areas and fill them with the new brush.
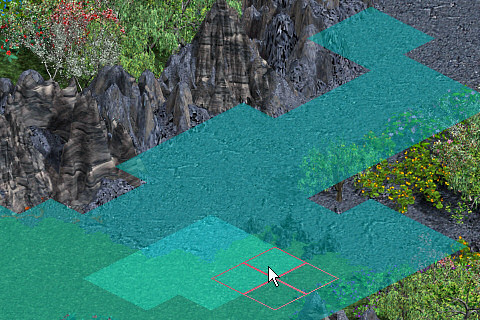
- 12-1 Paint the area with little spots and press the Paint button with one of the brushes.

- 12-2 Paint some empty space with other little spots and use the other brush.